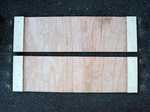
This page contains step by step instructions, including photographs, on how to create your own indoor balance board. The instructions have been tried and tested by several persons. The boards are extremely easy to make as long as you watch your fingers.
Two home made balance boards for the price of one!
You can easily create two balance boards out of a sheet of plywood measuring 606mm x 1220mm x 18mm thick. So find a friend and get going.
What you need
(Power) tools: Saw, hammer, (electric) screwdriver/drill, rasp, sandpaper and/or sanding block
Optional tools: Try square or saw with square
Ply wood: One sheet of plywood 606mm x 1220mm x 18mm. That is 23.8" x 48" x 0.7" for the imperial people reading.
Wood glue
Screws: 12 screws 20mm (0.8") length
Step 1
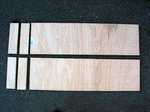
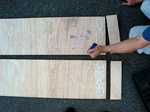
Cut the plywood length wise into two parts. Cut off two strips of 85mm (3.4") from both halves. Some hardware stores will cut the plywood for you. It's recommended to have the wood cut in the shop if they offer it, since it might be somewhat difficult to cut straight.
Step 2
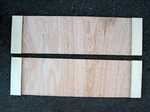
The stoppers need to be fixed to the ends of the balancing boards.
Step 3
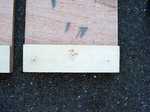
Pre drill three holes in each stopper and counter sink them so the screw heads won't stick out of the underside of the balance board. The screws are only used to keep the stoppers in place while the glue dries.
Step 4
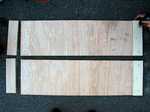
Apply wood glue to the boards...
Step 5
...and secure the stoppers to the ends of the boards with three screws each.
Step 6
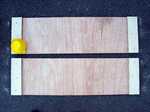
To protect your furniture and other items in your house, the corners of your home made balance board should be rounded.
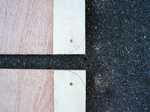
Mark off round corners with a bowl, flowerpot, CD or whatever circular item you have laying around.
Step 6b
After you've marked the rounded corners ...
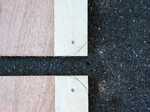
Step 6c
...mark a saw line at a 45° angle.
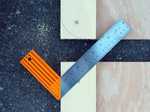
Step 6d
You can either use a try square or ...
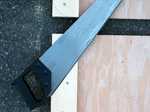
Step 6e
...most saws can be use a try square if you have no square available.
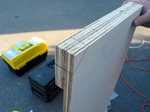
Step 6f
Mark the corner cut off all the way around for the best result.
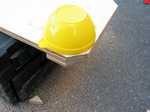
Step 7
After the corner has been cut off, mark the rounded corner on the face of the board.
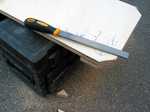
Step 8
Get sweaty and rasp away the edges into a round corner. If you have an electric sander you can speed up the process a somewhat.
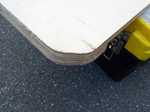
Step 8b
A somewhat rounded corner.
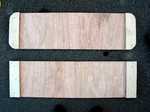
Step 9
One board down for more corners to go
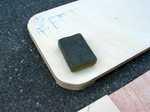
Step 10
The final step is sanding the entire board and all the edges so they are nice and smooth.
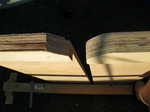
Step 10b
You should end up with nicely rounded and sanded corners on the balance board.
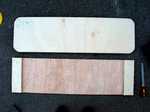
One Finished homemade balance board
and one more to go.
Comments
Anonymous wrote on 20070123:
Buy a cheap or second-hand skateboard and take the trucks off...


